4 Ways to Create a Heart Shape in Adobe Illustrator
In Adobe Illustrator, there are several ways to create a heart shape. In this comprehensive tutorial, we’ll review 4 ways to create a heart illustration using Adobe Illustrator! Whether you're a beginner eager to dive into the world of vector art or an experienced designer looking to refine your skills, this step-by-step guide will walk you through the process of crafting a heart shape. So, let's explore the techniques and tricks to design a heart.
Here are the three methods you can use on a Mac computer:
Table of contents:
Method 1: Using the Ellipse Tool and Direct Selection Tool
Method 1
Using the Ellipse Tool and Direct Selection Tool
Step 1
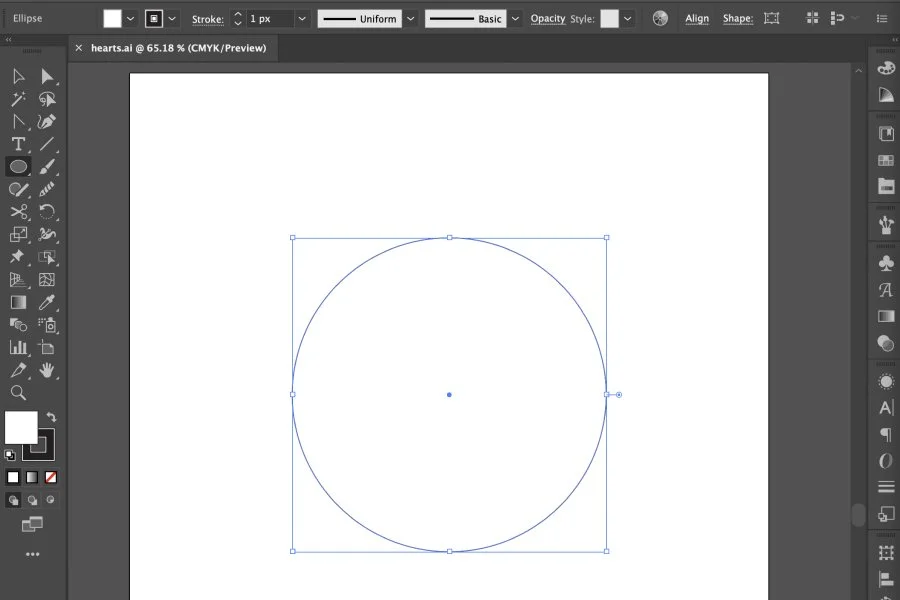
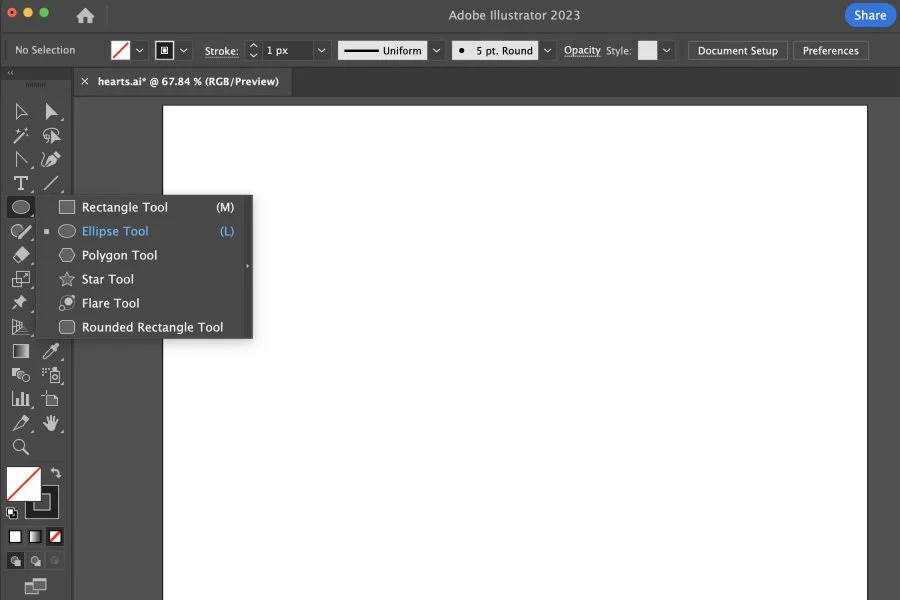
Select the Ellipse Tool (Shortcut: L) from the toolbar.

Step 2
Click and drag on the canvas while holding the Shift key to create a perfect circle.
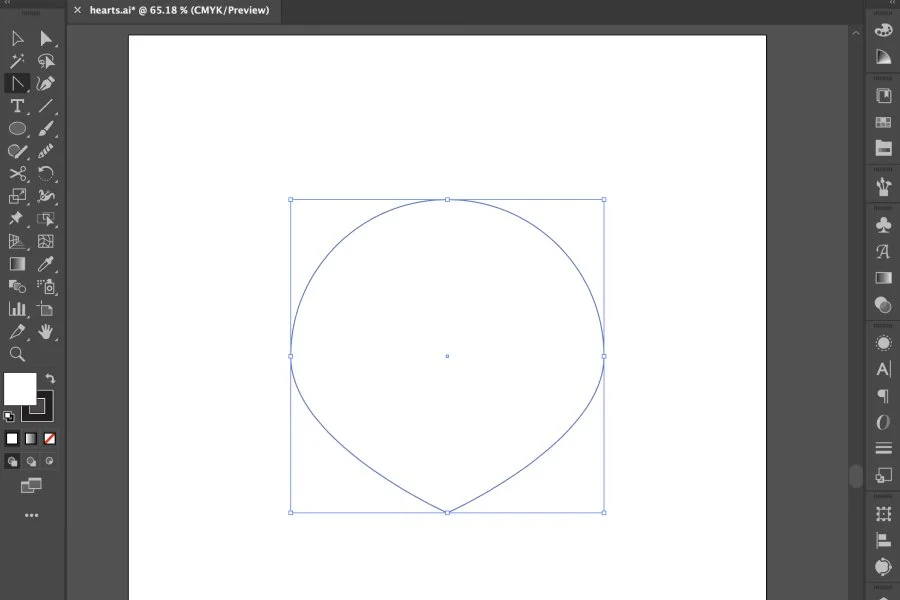
Step 3
With the circle selected, select the Anchor Point Tool (Shortcut: Shift + C).

Step 4
While pressing and holding the Alt/Option key, click on the bottom and top anchor points.

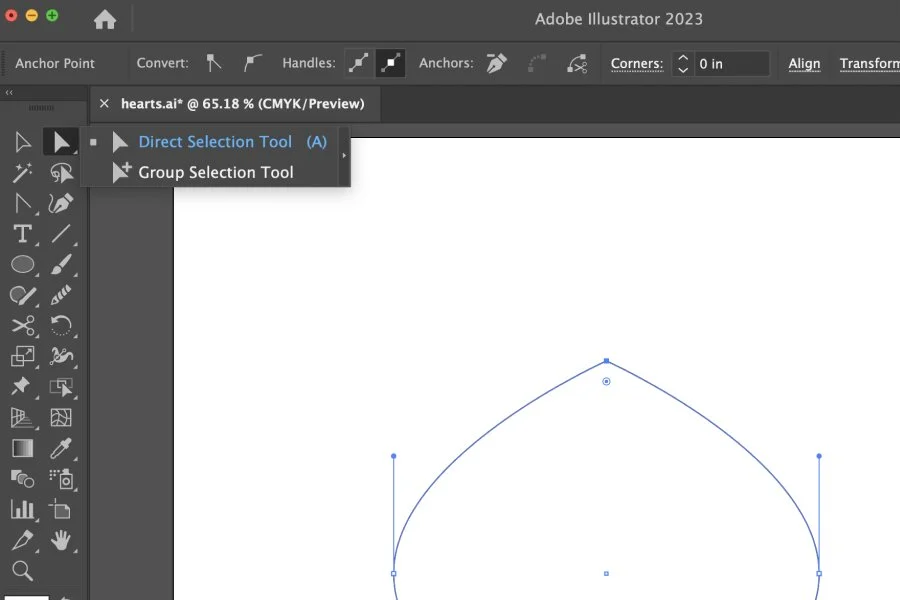
Step 5
With the resulting shape still selected, use the Direct Selection Tool (Shortcut: A) to click and drag the anchor point at the top of the shape inward to create the top part of the heart. Pro tip: Press and hold the Shift key while you click and drag the anchor point down so that it moves in a straight line.
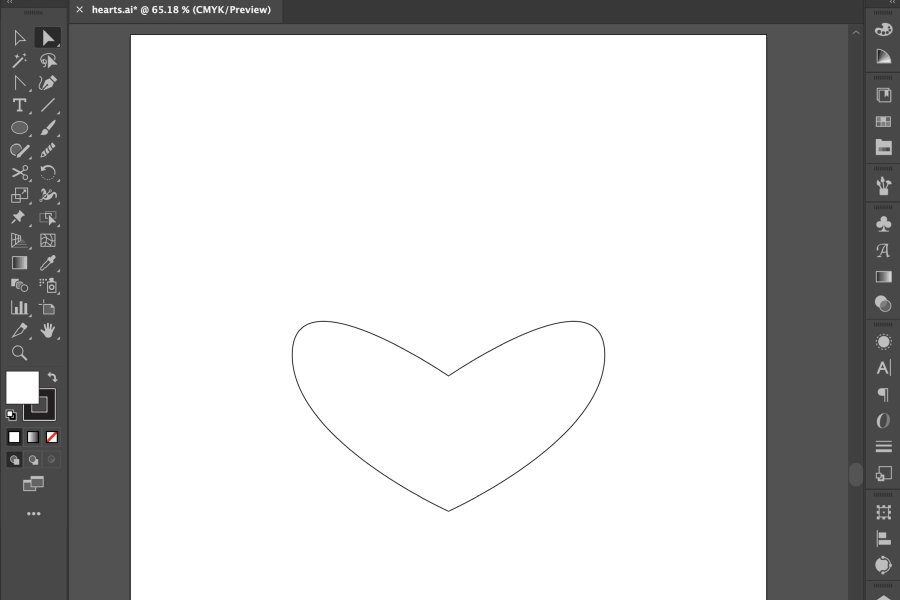
Step 6
Refine the shape using the Selection (Shortcut: V) and Direct Selection Tools (Shortcut: A) until you are satisfied with the heart shape.
Video Tutorial on Creating a Heart Shape Using the Ellipse Tool and Direct Selection Tool
Method 2
Using the Pen Tool
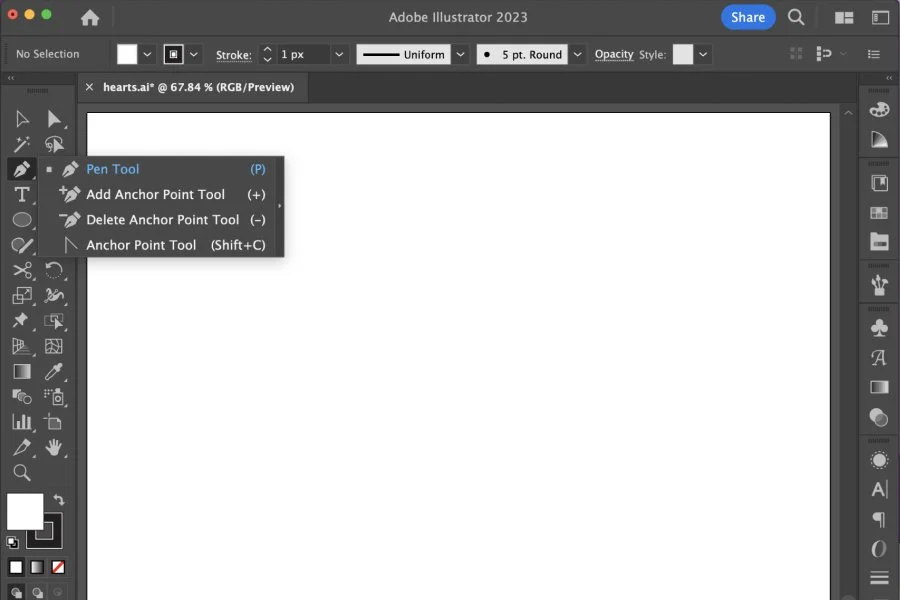
Step 1
Select the Pen Tool (Shortcut: P) from the toolbar.
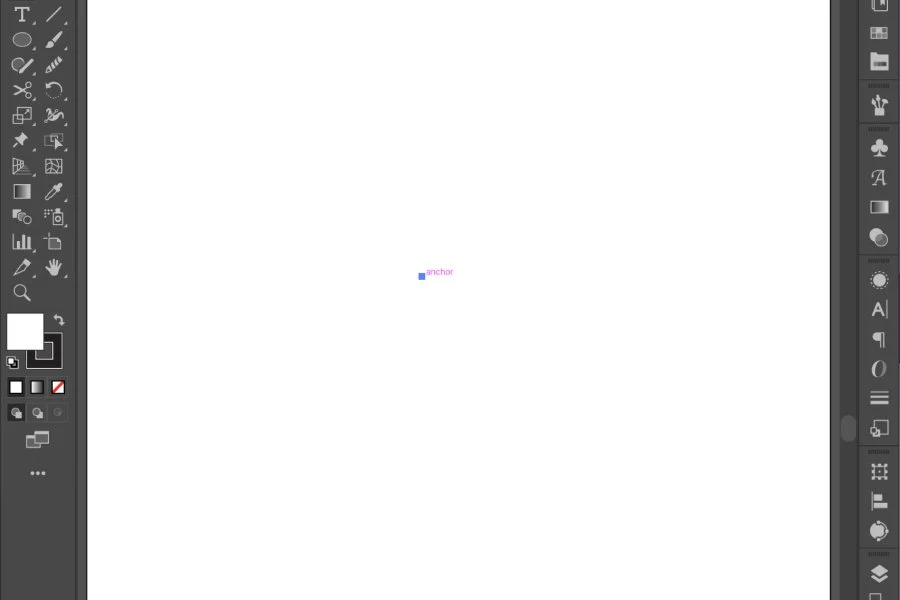
Step 2
Click on the canvas to create the first anchor point of the heart shape.
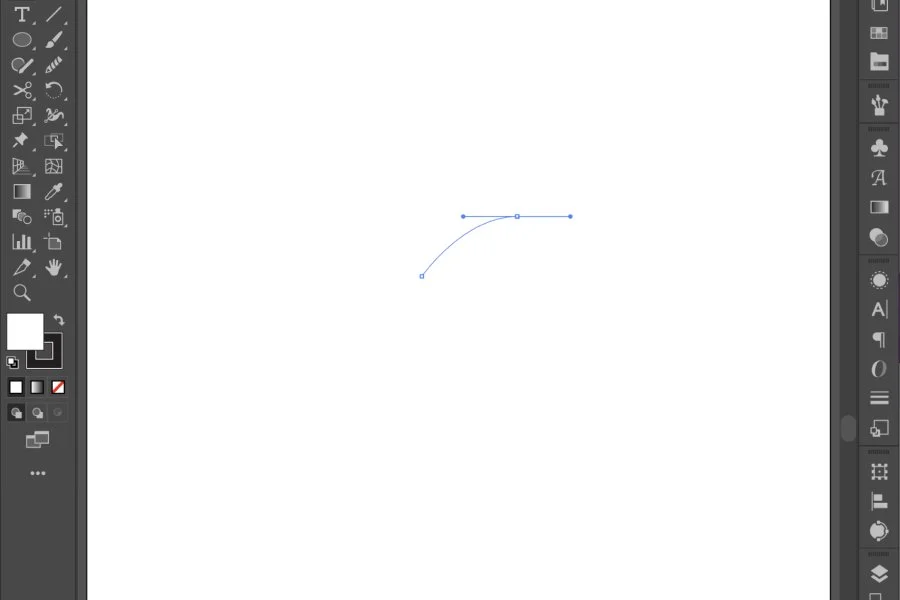
Step 3
Click and drag to create a handle that defines the curve of the shape.
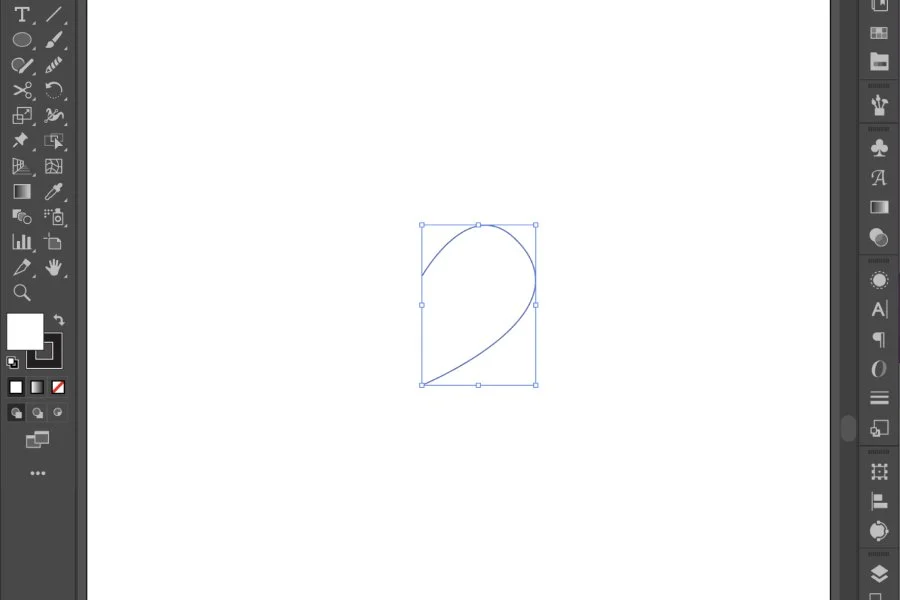
Step 4
Click again to create the second anchor point of the heart shape towards the bottom. Click + Cmd to release the Pen Tool.
Step 5
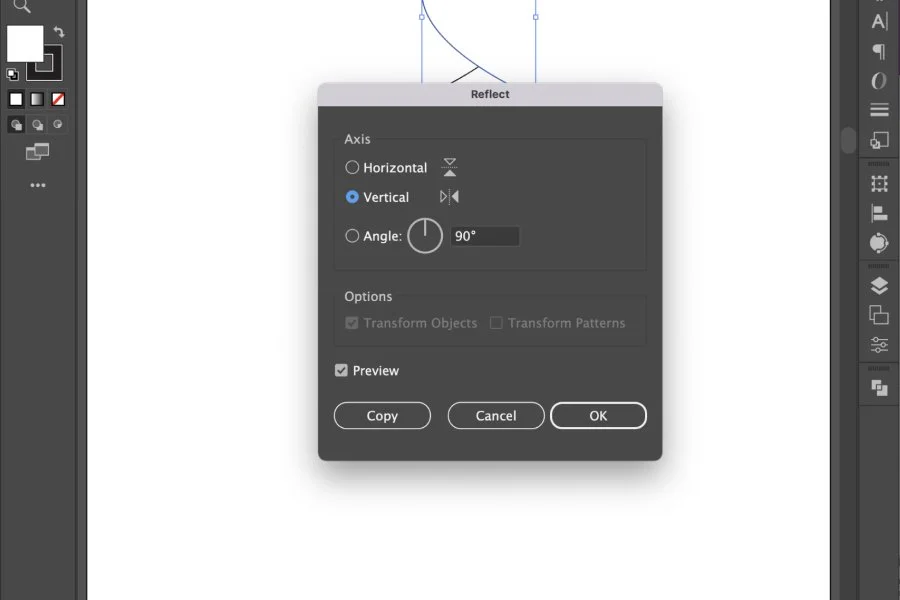
Click the Selection (Shortcut: V) and select the half-heart shape. Press Cmd + C to copy. Press Cmd + F to Paste in Front (Edit > Paste in Front). With the shape still selected, right-click on the artboard (Ctrl + Click), and select Transform > Reflect.

Step 6
Select Vertical and click Ok.
Step 7
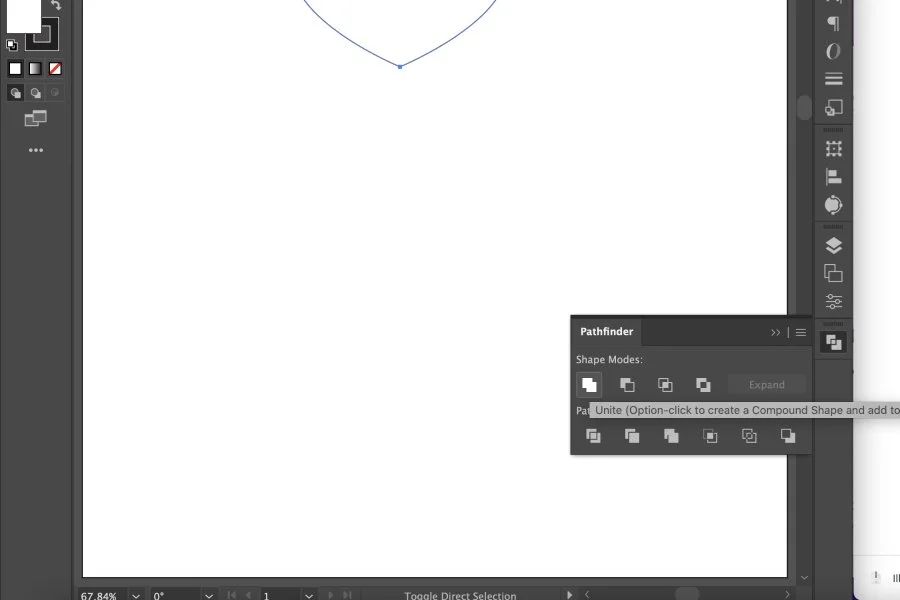
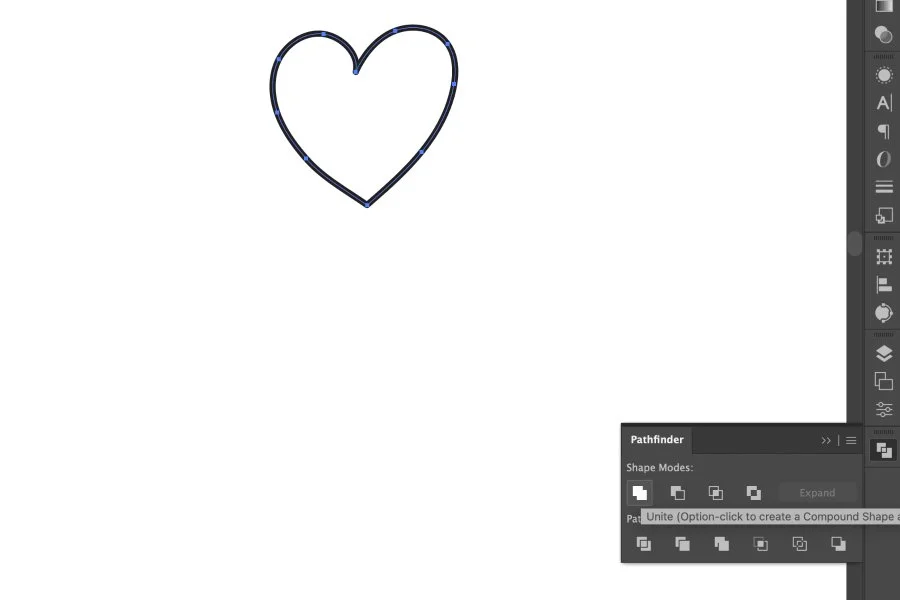
With the shape still selected, press and hold the Shift key and drag the shape to the left until the anchor points meet and you’ve created a heart. Press Cmd + A to select all. You can also select the Selection Tool (Shortcut: V) and drag on the canvas to select the two parts of the heart. Using the Pathfinder window (Window > Pathfinder), click Unite under Shape Modes.
Step 8
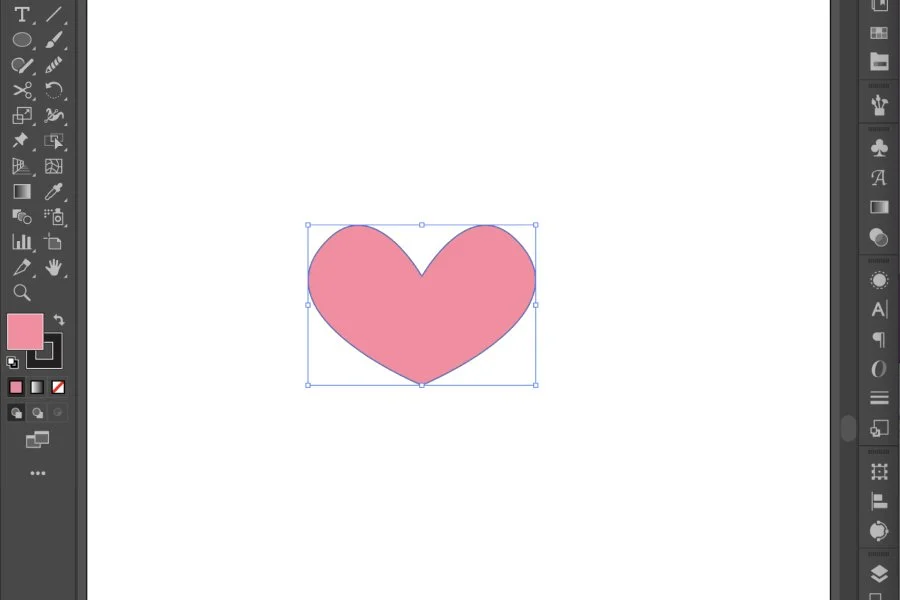
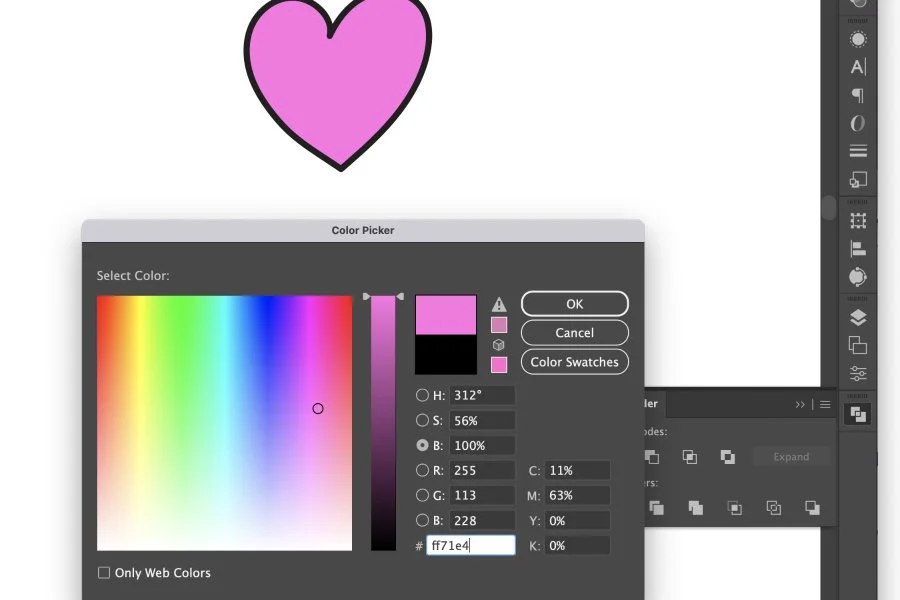
The shape is now united and you can fill it in with a color or change the fill color if you’d like.
Video Tutorial on Creating a Heart Shape Using the Pen Tool
Method 3
Using the Shape Tool
Step 1
Select the Ellipse Tool (Shortcut: L) from the toolbar.
Step 2
Click and drag on the canvas to create a circle. Hold the Shift key to make it perfectly proportional.

Step 3
Select the Selection Tool (Shortcut: V) from the toolbar. Press and hold the Shift and Alt/Option keys. Drag a new circle to the right or left of the original circle you drew.
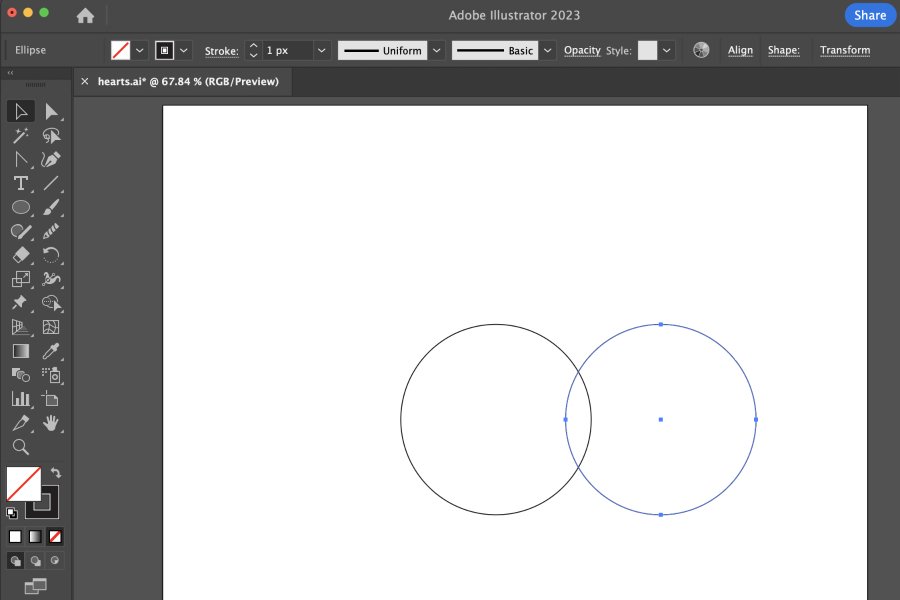
Step 4
With the Selection Tool, click and drag to select both circles. As an alternative, use shortcut Cmd + A to select all.

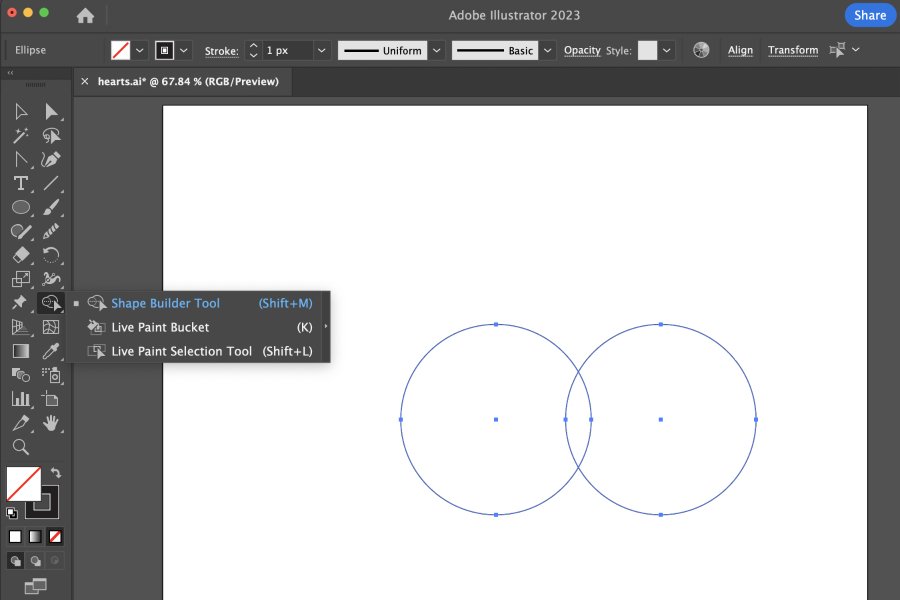
Step 5
Select the Shape Builder tool (Shortcut Shift + M) from the toolbar.
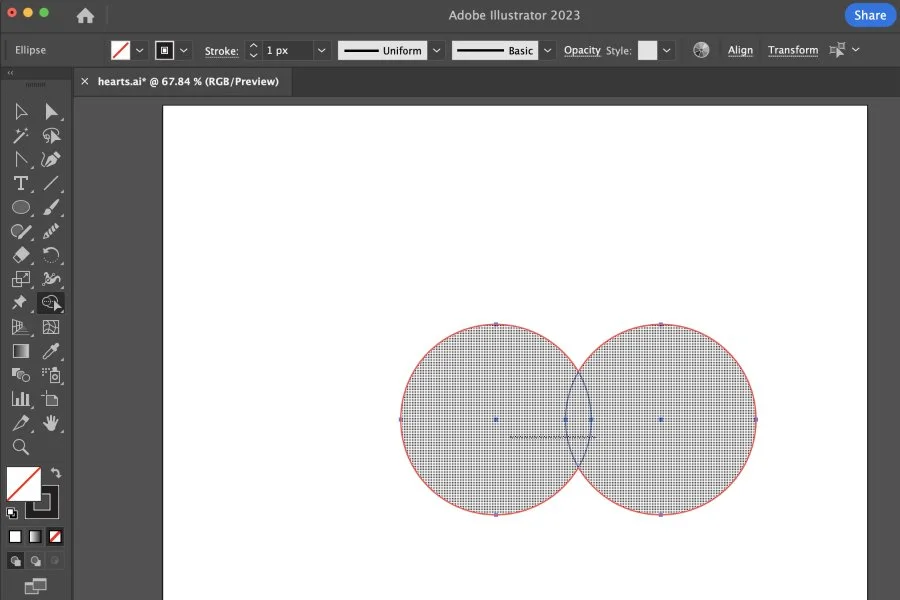
Step 6
Click and drag the tool through the inside of the two circles to unite both shapes.
Step 7
Select the Direct Selection Tool (Shortcut: A) from the toolbar.
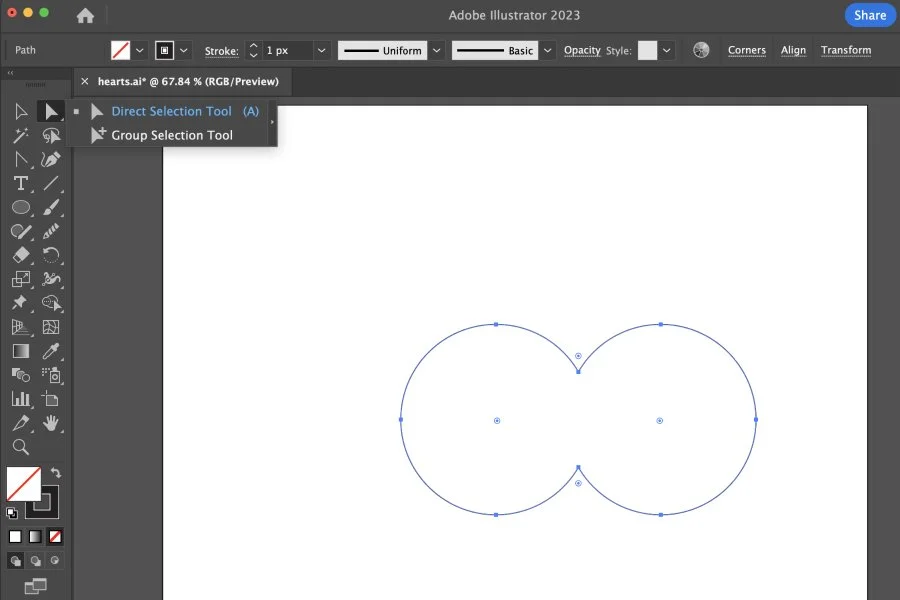
Step 8
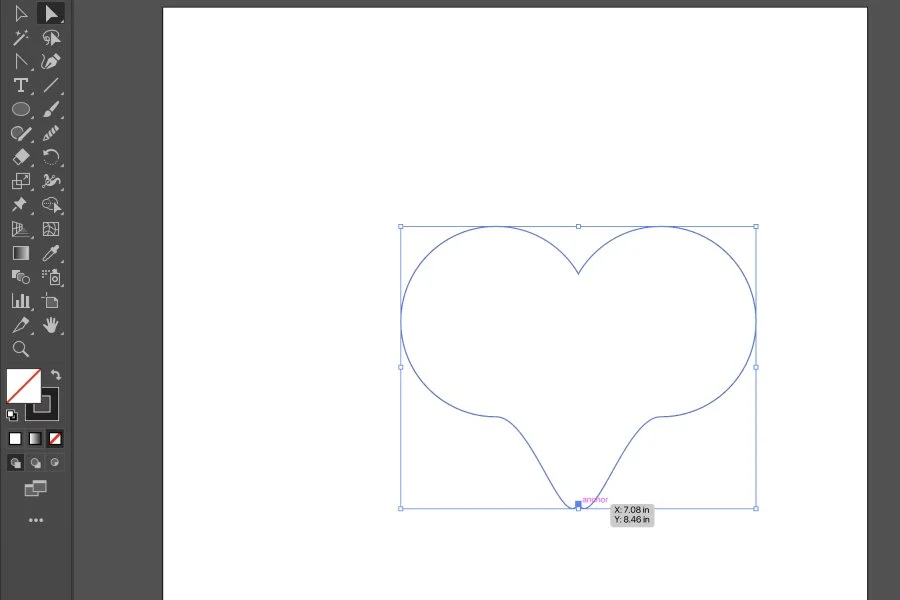
Using the Direct Selection Tool, click on the anchor point that juts into the circle from the bottom.

Step 9
Holding the Shift key, drag the anchor point downward.
Step 10
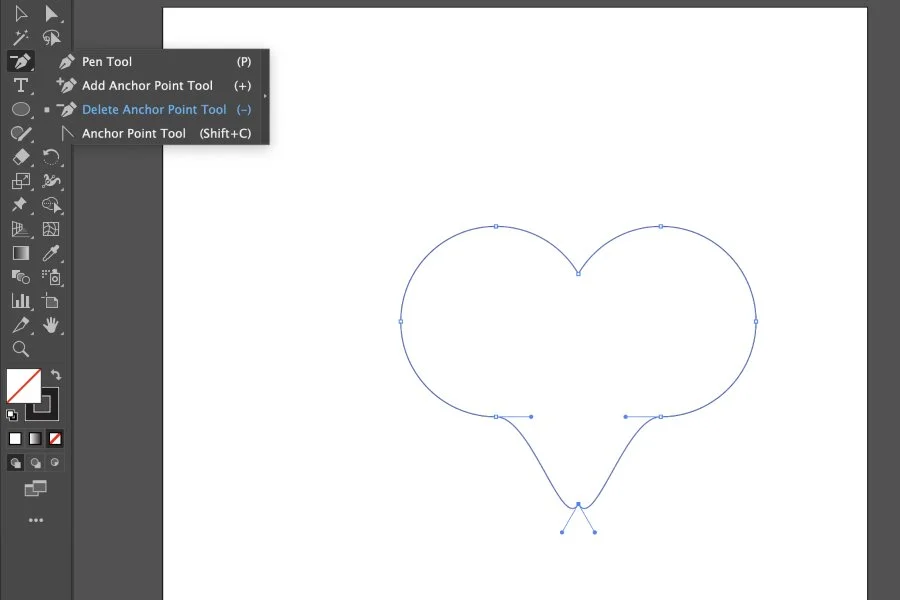
Click on the Delete Anchor Point Tool (Shortcut: -) from the toolbar.
Step 11
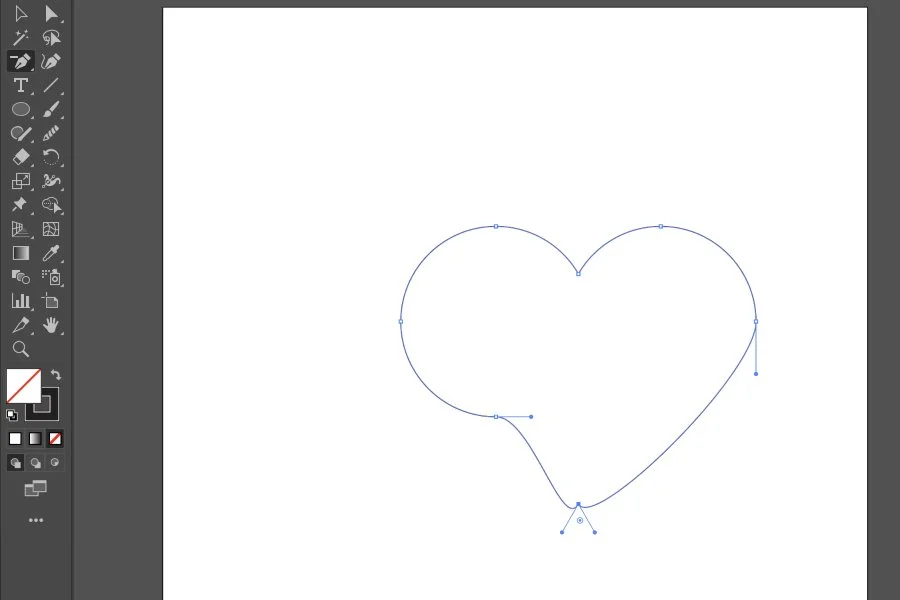
Using the Delete Anchor Point Tool, remove the two anchor points that create the bottom of the circle.

Step 12
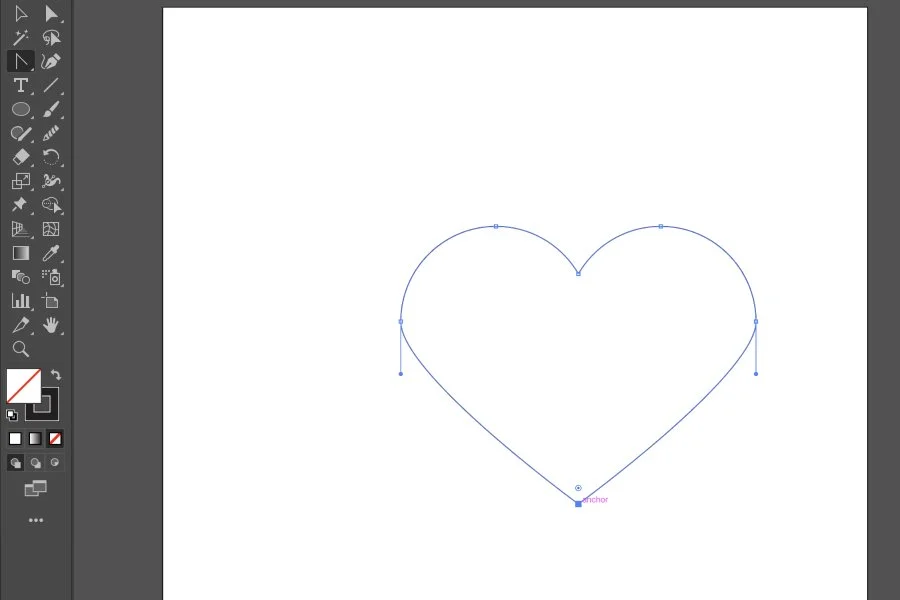
Select the Anchor Point Tool (Shortcut: Shift + C) from the toolbar. Click on the bottom-most anchor part in the heart.
Video Tutorial on Creating a Heart Shape Using the Shape Tool
Method 4
Using the Paintbrush Tool
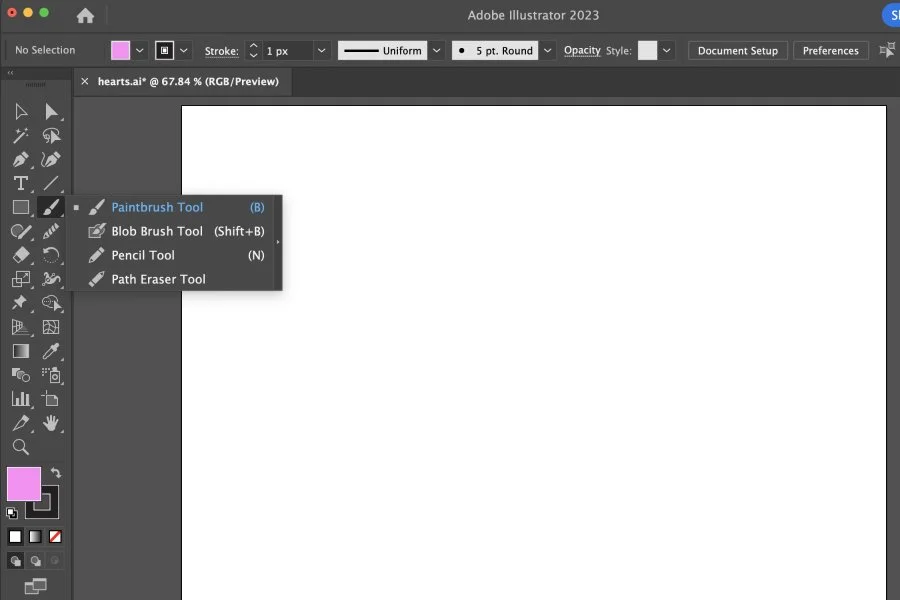
Step 1
Select the Paintbrush Tool (Shortcut: B) from the toolbar.
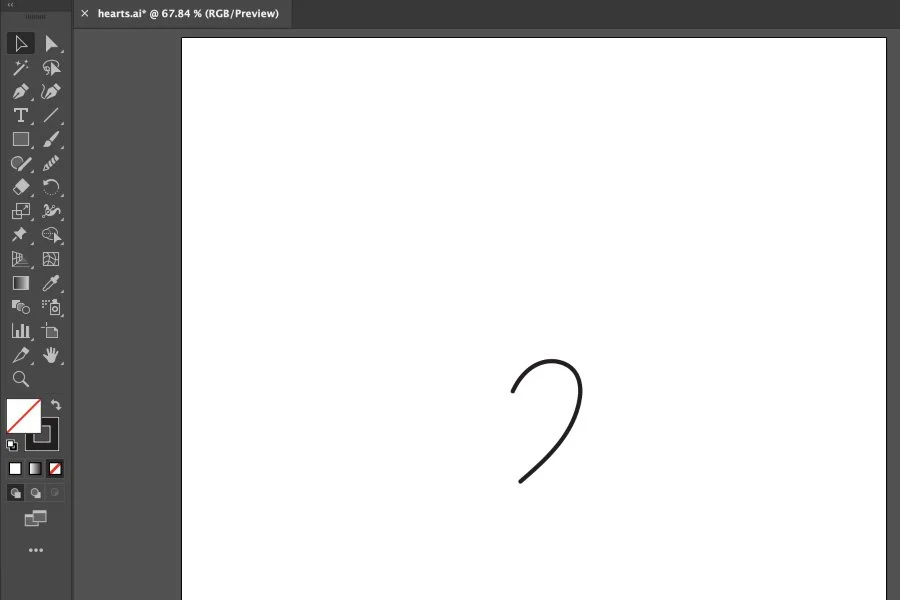
Step 2
Click and drag to draw the shape that defines half of the heart.
Step 3
Click again and drag to create the other half of the heart shape.

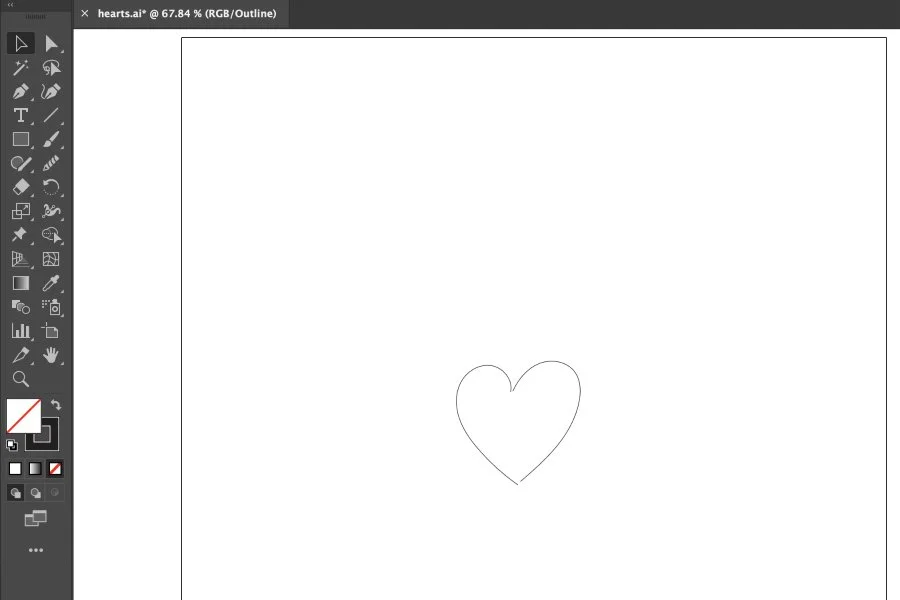
Step 4
Use shortcut Cmd + Y to view the artboard in Preview (View > Preview). If there’s a gap between the left and right side of the heart, select the Direct Selection tool (Shortcut: A) from the toolbar. If not, use shortcut Cmd + Y to return to the previous default view.
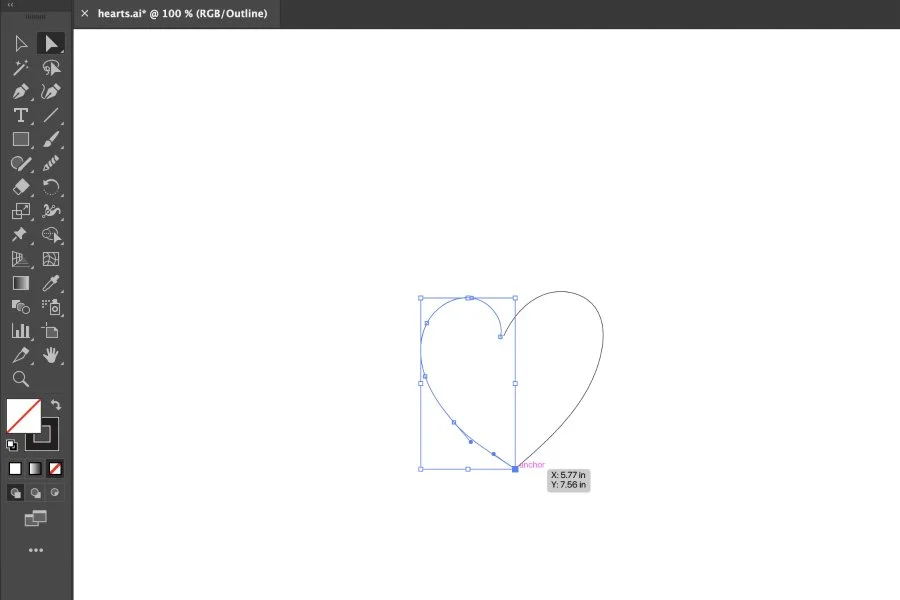
Step 5
Using the Direct Selection tool, click on an anchor point at the top or bottom of the heart, and move it in such a way that it will close the gap. Repeat this step until the gaps at the bottom and top of the heart are closed. When you’re done closing the gaps, use the shortcut Cmd + Y to return to the previous default view.

Step 6
Press Cmd + A to select all. You can also select the Selection Tool (Shortcut: V) and drag on the canvas to select the two parts of the heart. Using the Pathfinder window (Window > Pathfinder), click Unite under Shape Modes.
Step 7
The shape is now united and you can fill it in with a color or change the fill color if you’d like.
Video Tutorial on Creating a Heart Shape Using the Paintbrush Tool
Final Thoughts
In Adobe Illustrator, there are several methods available for creating a heart shape. These methods offer various approaches, allowing you to experiment and customize the shape according to your preferences. Explore each technique and find the perfect heart shape that resonates with your vision.