
How to Ice Dye Cotton Napkins: A Beginner-Friendly Tutorial
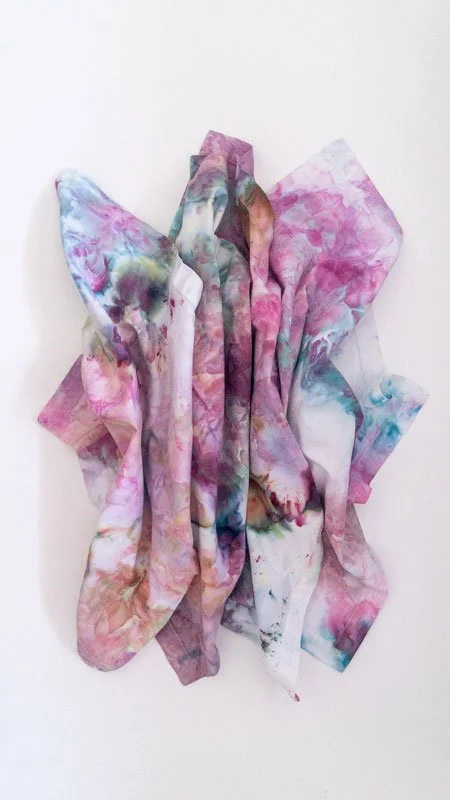
Ice dyeing is one of those craft projects where you get to be creative without knowing exactly what the finished piece will look like. Instead of mixing dye into a liquid and applying it directly to fabric, we sprinkle powdered fiber-reactive dye over ice and let the melting ice slowly carry the color through the fabric.
The result is soft, watercolor-like patterns with beautiful variations in color. Depending on how the fabric is folded and where the dye is placed, the colors can separate, blend, and create completely unexpected shades.
For this project, we used 16 white, 100% cotton napkins, Jacquard Procion MX Fiber Reactive Cold Water Dye and the Jacquard Procion MX Ice Dye Set.
The hands-on preparation and project took approximately 3 hours total from the time we started mixing the soda ash solution until we finished adding the dye and ice to all 16 napkins. After that, the napkins need to sit so the dye can react with the cotton, so this is a project that's best started when you have plenty of time to let it process overnight.
Project Overview
Project: Ice-dyed cotton napkins
Fabric: 100% cotton
Number of napkins: 16
Skill level: Beginner-friendly
Supplies
Here's everything we used for this project:
Approximately 1 bag of ice
Utility sink (or somewhere you can rinse out the dyed fabric)
Jacquard Soda Ash (to pre-wash)
Jacquard Synthrapol (to post-wash)
Plastic spoon for sprinkling and spreading the dye
Bucket for mixing the soda ash solution with the napkins
Wooden stir stick for mixing the soda ash with water, similar to these
Latex gloves
Rag or old towel for drying hands at times
Large container, tray, or other setup that allows excess water and dye to drain away from the napkins (we used a Sterlite 74 Qt. Underbed Storage Box)
Expandable colander or cooling rack (we used these two expandable colanders Plastic Narrow Over the Sink Expandable Colander with Soaking Tray Green - Figmint™ and an expandable cooling rack)
Dye colors:
Jacquard Procion MX Fiber Reactive Cold Water Dye
Teal
Aquamarine
Fuchsia
Robin's Egg
Raspberry
Peach
Pale Aqua
Ecru
Bubble Gum
Jacquard Procion MX Ice Dye Set
Poinsettia
Nebula
Spumoni
Before Getting Started: Protect Your Workspace
This is not a project we'd recommend doing directly on a nice countertop without protection. Both soda ash and dyes can be messy, and the dye will stain your hands, clothing, and surfaces.
We wore latex gloves throughout the process. It's also a good idea to wear clothing you don't mind getting stained.
Step 1: Prepare the Soda Ash Solution
The first step is preparing the soda ash solution that will activate the cotton fibers so the Procion MX dye can bond to them.
For this ice-dyeing method, we mixed 1 pound of soda ash with 5 liters of warm water in a bucket using the wooden stir stick. On Jacquard’s website, the solution mixture calls for 2 cups of soda ash with 1 gallon of warm water.
We mixed the solution in a bucket, stirring until the soda ash was dissolved. Put on your gloves before starting the process and handling the solution.
Why do we need soda ash?
Procion MX is a fiber-reactive dye. The soda ash raises the pH of the fabric and creates the conditions needed for the dye to chemically bond with the cotton fibers. Without the soda ash, the dye won't bond properly to the cotton.
Step 2: Soak the Napkins
Place the cotton napkins into the soda ash solution and make sure they are thoroughly saturated. Let the napkins soak for 15-30 minutes. Once they're fully soaked, remove them and squeeze or wring out the excess solution. The napkins should be damp but not dripping.
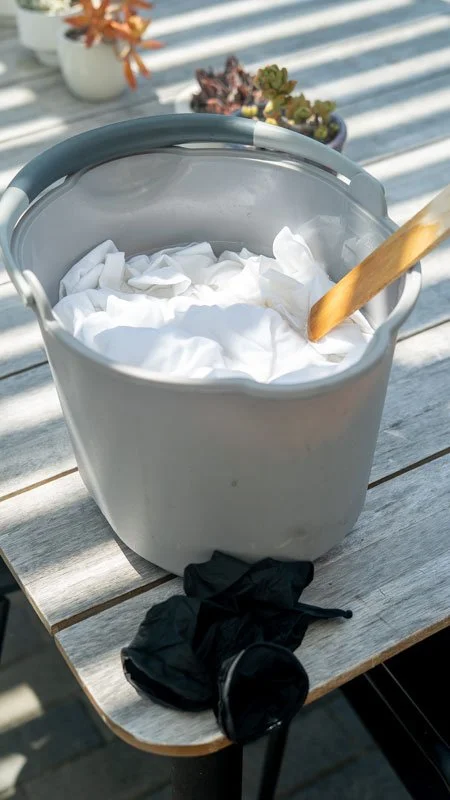
Soak the napkins in soda ash before dyeing them.
Step 3: Arrange the Napkins
Now comes the part where we can start creating the pattern. We loosely scrunched the napkins onto the colander and cooling rack rather than creating a precise tie-dye design. There isn't necessarily a right or wrong way to arrange them. The folds and layers give the dye different paths to travel as the ice melts, which is part of what creates the organic look of ice dyeing. If you want more defined areas of color, you can experiment with tighter folds or ties. For a softer, more random pattern, loosely scrunching the fabric works beautifully.
Place the colander and cooling rack over a tub or bin so they can catch all the melted ice and dye. Raise the colander and rack above the bin (don’t let them touch the bottom) so melted ice won’t run onto the fabric.
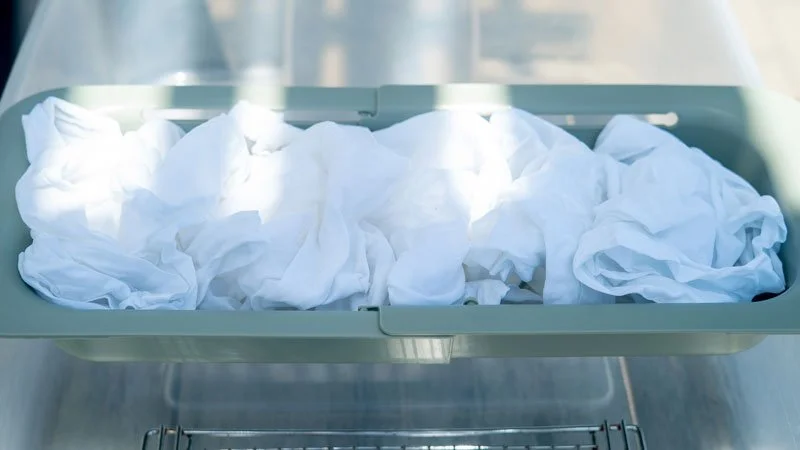
Loosely scrunch the napkins in the colander or over the cooling rack.
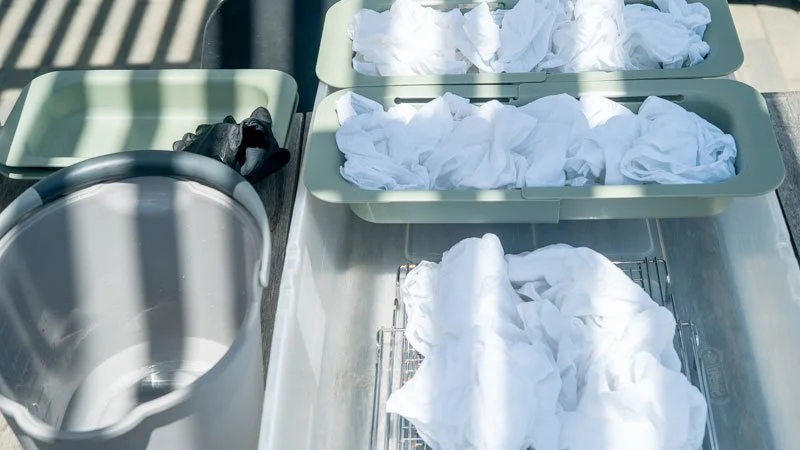
Place the colander or cooling rack in a position that’s raised or suspended above the bin.
Step 4: Add the Ice
Once the napkins are arranged, cover them with ice. For our 16 cotton napkins, we used approximately one bag of ice plus some more from our freezer. Try to distribute the ice fairly evenly over the fabric, but don't worry about making it perfect. Some variation will actually help create a more interesting pattern.
As the ice melts, the water will slowly carry the dye through the layers of fabric.
Step 5: Choose Your Colors
For our first ice-dye project, we decided to keep the color palettes relatively simple.
Here are the color combinations we used:
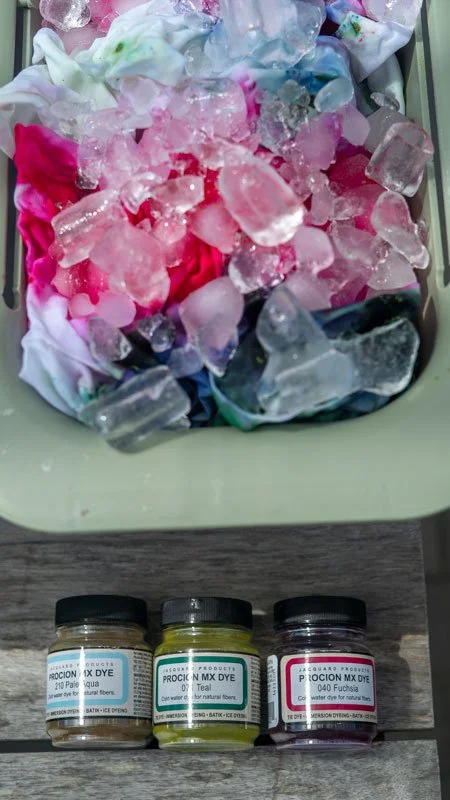
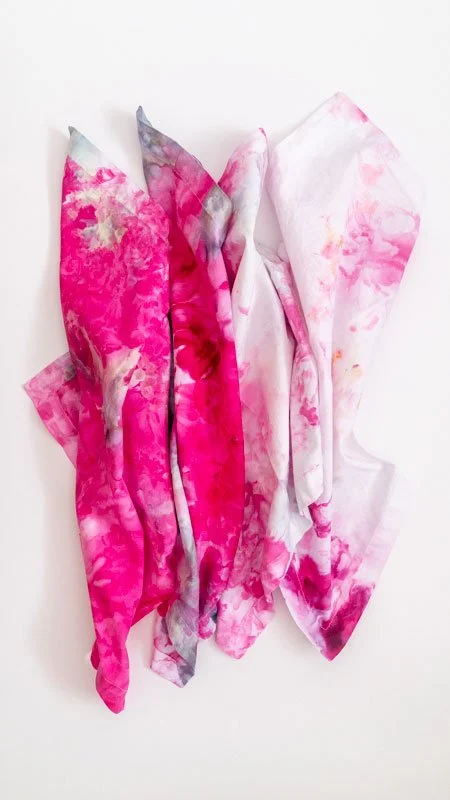
Pale Aqua, Teal, and Fuchsia
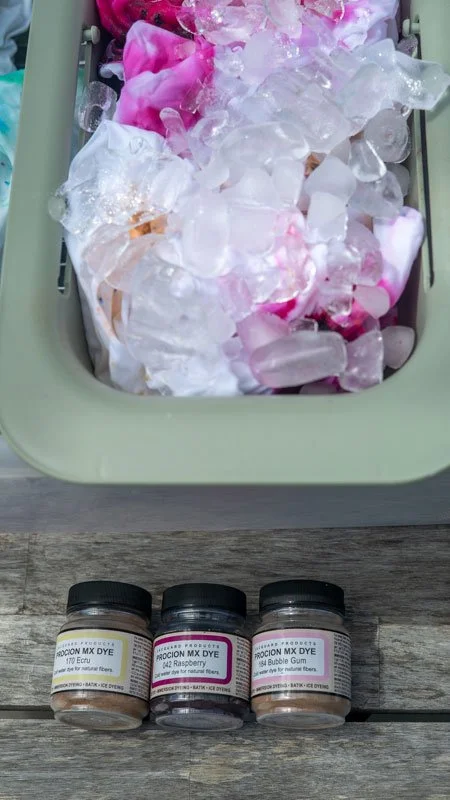
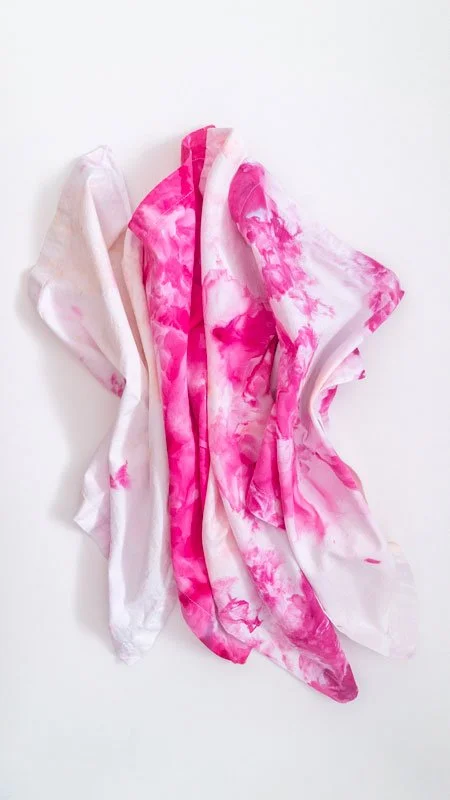
Ecru, Raspberry, and Bubble Gum
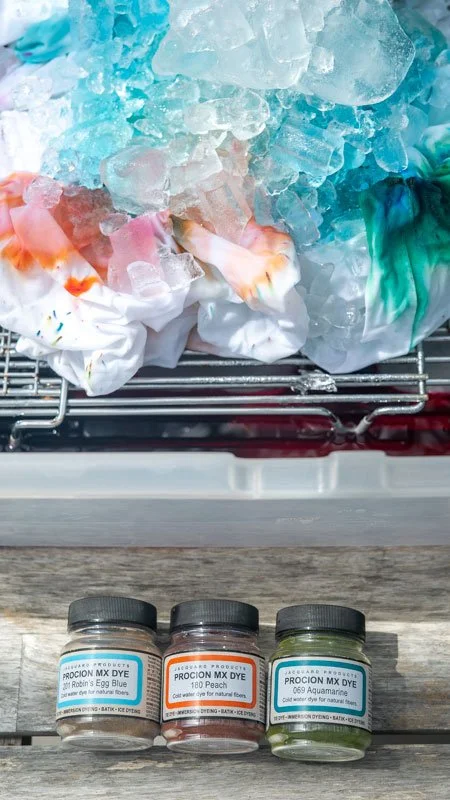
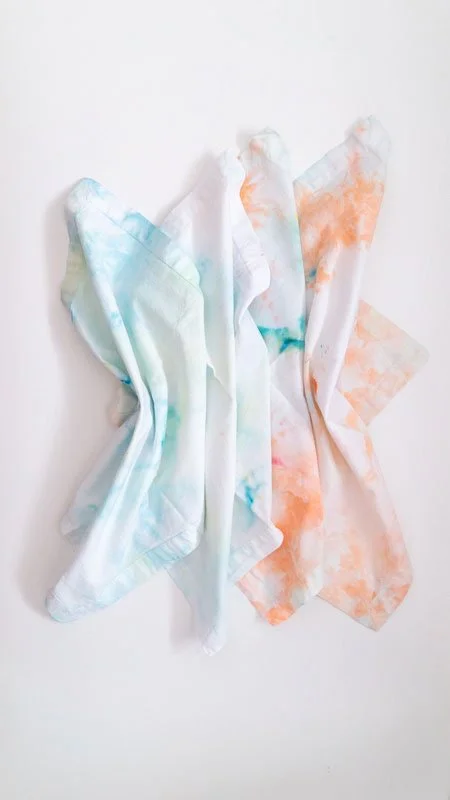
Robin’s Egg Blue, Peach, and Aquamarine
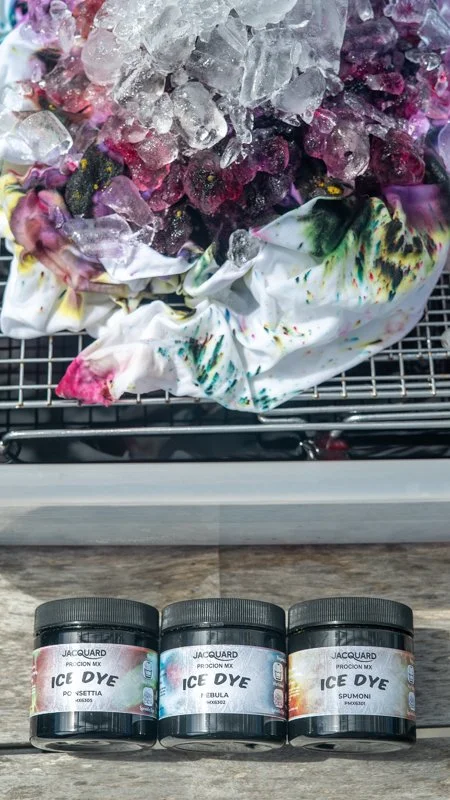
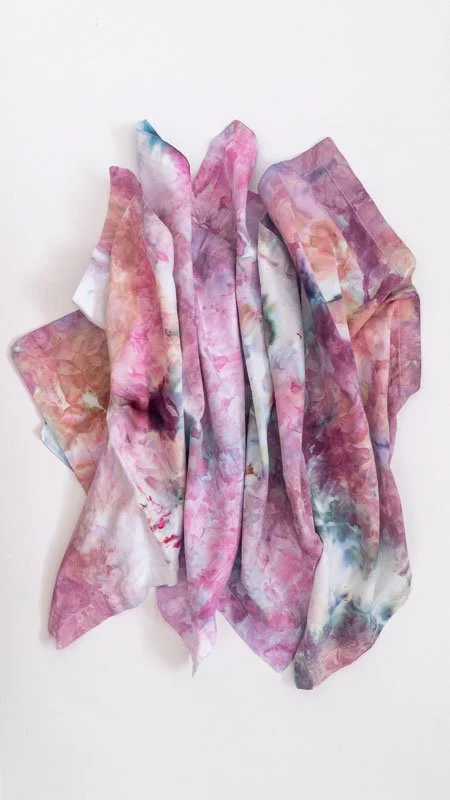
Poinsettia, Nebula, and Spumoni
Using three colors gave us enough variety to create interesting blends without overwhelming the design.
If this is your first time ice dyeing, we recommend starting with two or three colors. It's much easier to see how the colors interact when you're not working with a huge number of dyes.
Step 6: Sprinkle the Dye Over the Ice
This is where the magic really begins. Using a plastic spoon, sprinkle the dry Procion MX dye over the ice. We used the spoon to control where the different colors landed and to spread the powder across the ice.
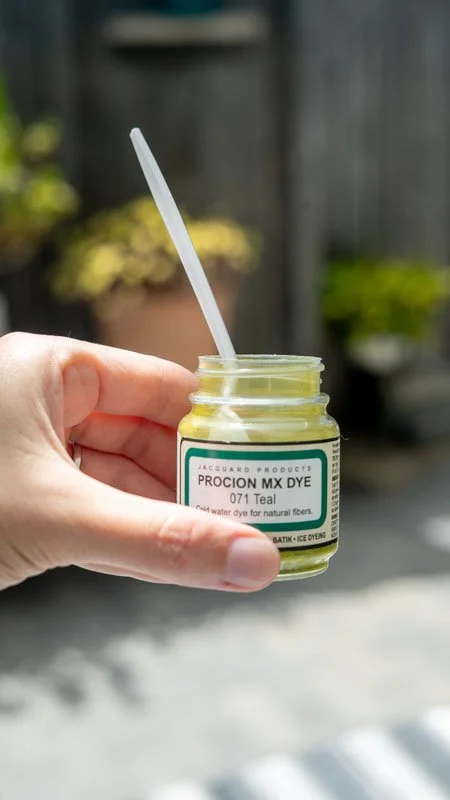
We used a plastic spoon to sprinkle dye onto the fabric.
Don't feel like you need to completely cover every piece of ice with dye. A little bit of dye goes a long way! Leaving some areas lightly covered will give you variations in intensity as the ice melts. And don't worry if it doesn't look particularly impressive yet. At this stage, you're essentially looking at ice covered in little piles of colorful powder and trying to imagine what the finished napkins will look like. The fun is that you can't completely predict the result.
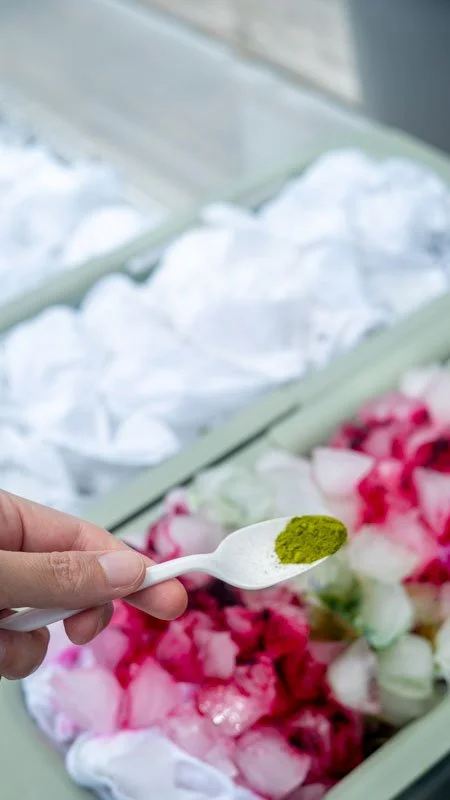
Sprinkle dye over the ice that’s placed on the fabric.
A very important tip: wear gloves!
Even though you're applying the dye to the ice rather than directly to the fabric, wear gloves when handling the dye. Procion MX dye can stain your hands, and the stains can be surprisingly persistent. It's also a good idea to keep your work surface protected throughout this step.
Step 7: Let the Ice Melt
Once all of the dye has been distributed over the ice, the hardest part begins: Wait. Leave the napkins undisturbed while the ice melts. For this project, we let the ice melt overnight.
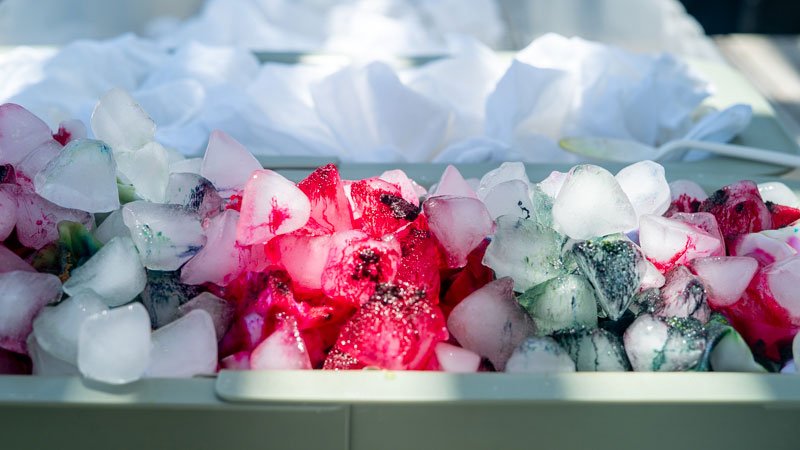
Let the dye-covered ice melt completely.
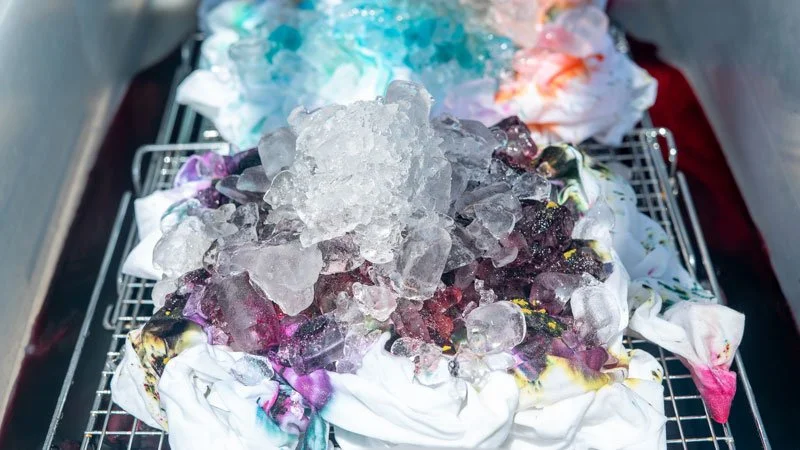
As the ice melts, the dye will collect in the bin below the rack.
As the ice slowly melts, it carries the dye through the layers of fabric. Different dye colors can separate as they travel, creating the beautiful mottled and watercolor-like effect that makes ice dyeing so distinctive.
For the best results, allow the dye to process according to the manufacturer's recommended time. Leaving the project overnight makes this particularly easy because the ice can melt and the dye can continue reacting while you're sleeping.
Step 8: Rinse the Napkins
Once the dye has had enough time to react with the cotton, it's time for the reveal. Rinse the napkins thoroughly to remove the excess dye. We did this in a utility sink.
Don't be alarmed by how much color comes out during this stage. There will be unbonded dye that needs to be removed, and the rinse water can be surprisingly colorful.
Continue rinsing until the water becomes significantly clearer. This is also when you'll finally start to see the actual pattern underneath all of that excess dye.
Step 9: Wash with Synthrapol
This is where the Synthrapol we purchased comes in. Synthrapol isn't needed during the actual ice-dyeing process. Instead, it's useful during the washing stage to help remove excess, unbonded dye from the fabric.
Follow the instructions on the bottle for the appropriate amount and washing method. Jacquard's ratio is 3 tablespoons (44 mL) Synthrapol per 8 lb of fabric, so we used a little over 1 teaspoon since our napkins weighed about 1 pound.
After washing, rinse the napkins thoroughly.
The Best Part: Seeing the Finished Napkins
One of the reasons ice dyeing is so addictive is that the finished fabric doesn't necessarily look anything like what you imagined when you started. The melting ice creates movement in the dye that would be difficult to reproduce by hand.
Some areas become intensely saturated, while others remain soft and pale. Colors can blend together, separate into their component shades, and create tiny variations throughout the fabric.
The result feels a little like watercolor painting on fabric.
What We Learned From Our First Ice-Dye Project
After dyeing 16 napkins, there are a few things we'd keep in mind for the next project.
Start with three colors or fewer: It's tempting to buy a bunch of beautiful colors and use all of them at once. But starting with two or three colors per set makes it easier to understand how the dyes interact.
Don't try to control everything: One of the best things about ice dyeing is the unpredictability. The exact way the fabric is folded, how the ice melts, where the dye lands, and how the colors travel through the fabric all influence the finished design. Trying to control every detail takes away some of the fun.
Protect everything: Wear gloves and protect your work surface. The dye is beautiful, but it is very good at making itself a permanent part of things you didn't intend to dye.
Give yourself enough time: The hands-on portion of this project took us approximately 3 hours for all 16 napkins, from gathering the supplies to mixing the soda ash through finishing the application of the ice and dye. The actual dye-processing time happens afterward, and you’ll need time the next day to rinse the napkins thoroughly.
Start in small batches: For this project, we dyed 16 napkins. However, for future projects, we’d likely start smaller so that it’s easier to manager and takes less time.
Would We Do It Again? Definitely.
Ice dyeing is an incredibly satisfying project because it combines a little bit of preparation with a lot of beautiful unpredictability. You choose the fabric, colors, and general arrangement, but then you have to let the ice take over.
And that's really the magic of it.
If you've never tried ice dyeing before, cotton napkins are a great place to start. They're relatively small, practical, and give you plenty of opportunity to experiment with different colors and folding techniques without committing to a huge piece of fabric.
The best part? Every napkin comes out a little differently.